Read the build package
Start with the latest stable hardware release and inspect the manuals, drawings, manufacturing files, and parts lists before buying material.
Builder orientation
OpenHornet is a serious fabrication project. The fastest way to make progress is to read the package, understand your tooling, and ask early when something is unclear.
First steps
These steps create a buildable sequence for new and advanced builders.
Start with the latest stable hardware release and inspect the manuals, drawings, manufacturing files, and parts lists before buying material.
The community is the best place for clarifying questions, builder examples, troubleshooting, and current caveats.
Review the latest release notes in GitHub to see what parts are affected by known issues, and ask before building them.
Remember to check for updates regularly to stay informed about any new issues, fixes, or new features you may want to implement.
New Builders: Start small. Do not try to build everything in one rush. Choose a manageable cockpit section and test as you go. (Fire Test panel is a popular starting point.)
Advanced Builders: Either build the whole frame, or get that LIP/UIP built so you are flying fast!
When you find a bug, document it. Open a GitHub issue, talk in Discord, or apply as a contributor to fix it yourself.
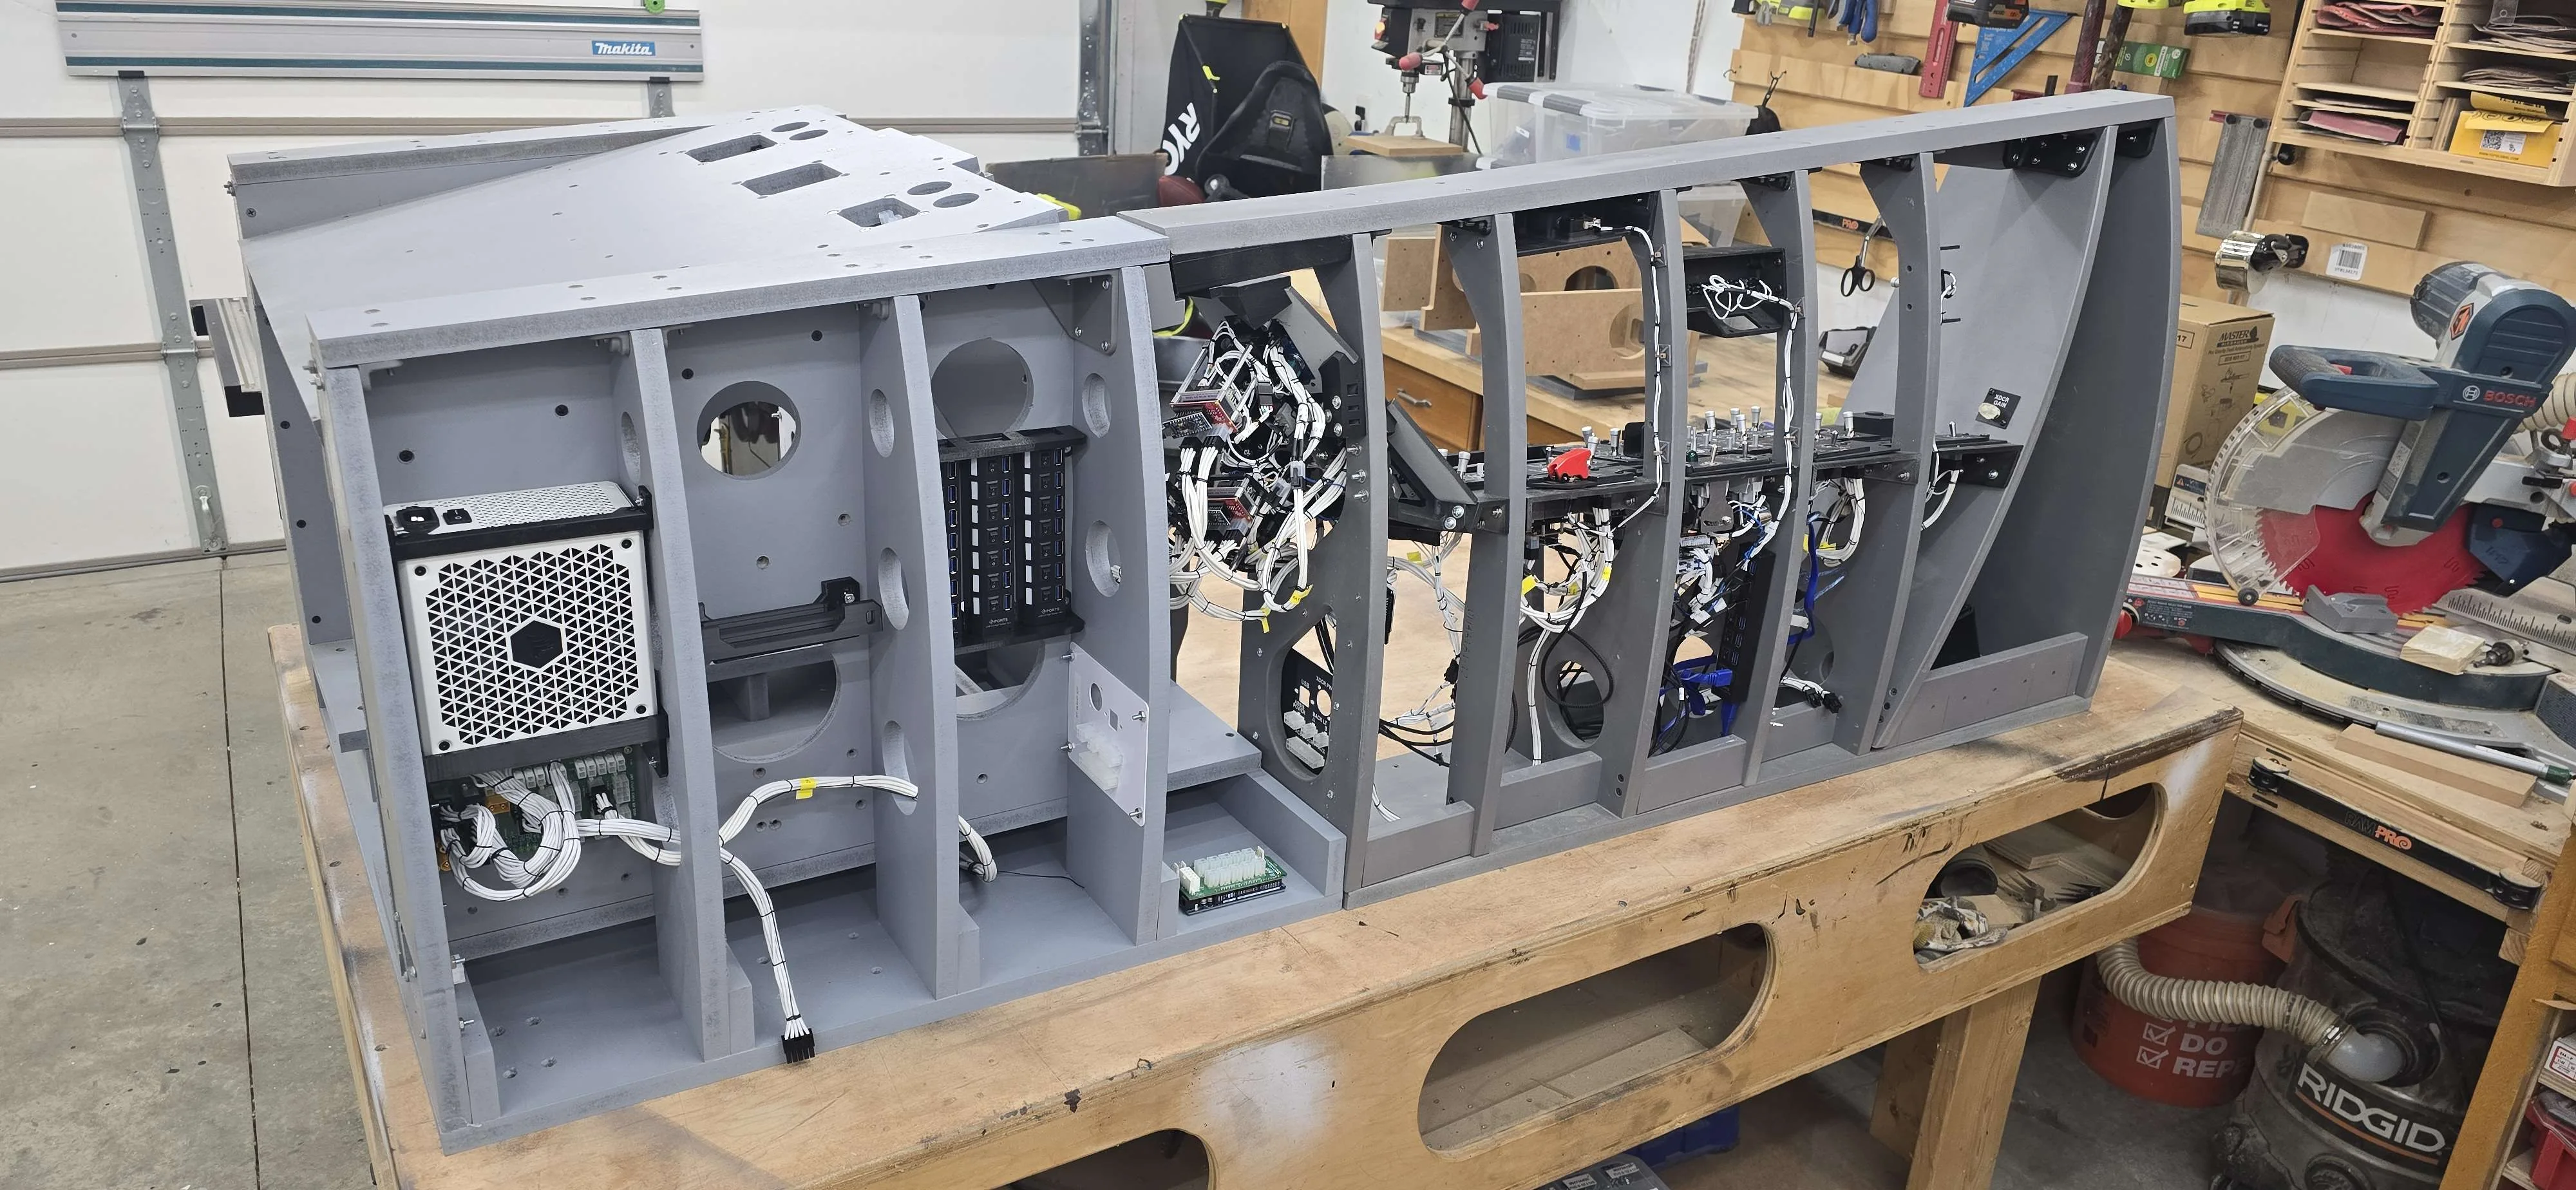
Minimum tooling assumptions
OpenHornet can be built by dedicated hobbyists, but it is not a weekend desktop kit. The current guidance assumes CNC routing, laser cutting or engraving, 3D printing, electronics assembly, and careful measuring. Note that these are minimum assumptions, and builders without this tooling may need to seek out local maker spaces, authorized vendors, or custom fabrication services to fill gaps.
A X-Carve 1000 x 1000 (750x750mm work area) router for MDF, acrylic, ABS, and thin aluminum work.
A K40+ laser with LightBurn-capable control and air assist for for acrylic and Rowmark.
FDM printing in PETG and resin printing are both part of the documented fabrication approach. (Prusa i3 MK3 & Anycubic Photon, minimum.)
Expect basic SMD/PTH soldering, inspection, rework, ESD care, measurement, and cable assembly tasks.
Download paths
Use the stable release for manufacturing, and follow the separate software repository as it develops.
Latest stable package: v0.3.0: Advancing the Airframe.
OpenHornet software docs cover firmware, sketches, libraries, and generated API reference.
Use GitHub issues for bugs, enhancements, obsolescence reports, and traceable technical discussion.
Need a shortcut?
OpenHornet plans stay freely accessible, while authorized vendors provide a commercial path for parts, kits, panels, PCBs, and other build support under OpenHornet oversight.